Step 8: Let us understand the above code snippet line by line.
- To start Flutter programming, you need first to import the Flutter package. Here, we have imported a Material package. This package allows you to create user interface according to the Material design guidelines specified by Android.
- The second line is an entry point of the Flutter applications similar to the main method in other programming languages. It calls the runApp function and pass it an object of MyApp The primary purpose of this function is to attach the given widget to the screen.
- Line 5 to 18 is a widget used for creating UI in the Flutter framework. Here, the StatelessWidget does not maintain any state of the widget. MyApp extends StatelessWidget that overrides its build The build method is used for creating a part of the UI of the application. In this block, the build method uses MaterialApp, a widget to create the root level UI of the application and contains three properties – title, theme, and home.
- Title: It is the title of the Flutter application.
- Theme: It is the theme of the widget. By default, it set the blue as the overall color of the application.
- Home: It is the inner UI of the application, which sets another widget (MyHomePage) for the application.
- Line 19 to 35, the MyHomePage is similar to MyApp, except it will return the Scaffold Scaffold widget is a top-level widget after the MaterialApp widget for creating the user interface. This widget contains two properties appBar and body. The appBar shows the header of the app, and body property shows the actual content of the application. Here, AppBar render the header of the application, Center widget is used to center the child widget, and Text is the final widget used to show the text content and displays in the center of the screen.
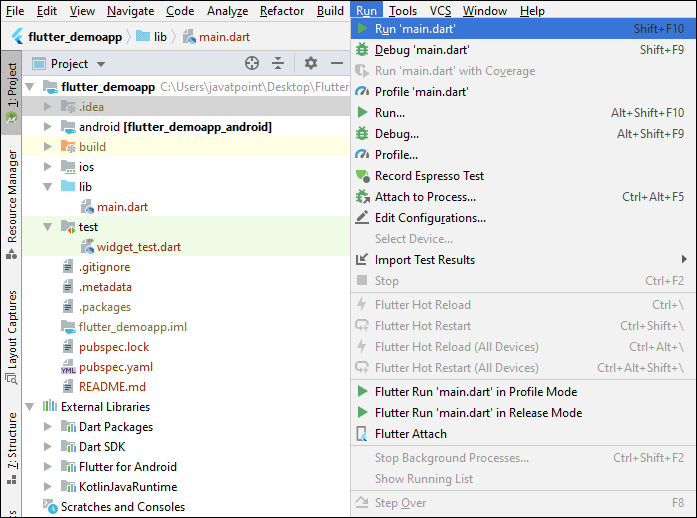
Step 9: Now, run the application. To do this, go to Run->Run main.dart, as shown in the below screen.
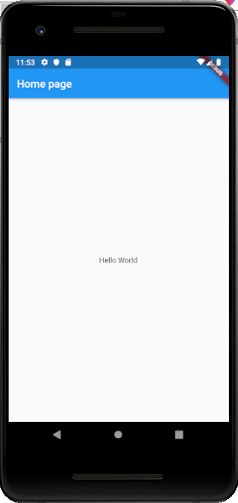
Step 10: Finally, you will get the output as below screen.
Leave a Reply