Step 1: Download the installation bundle of the Flutter Software Development Kit for windows. To download Flutter SDK, Go to its official website, click on Get started button, you will get the following screen.
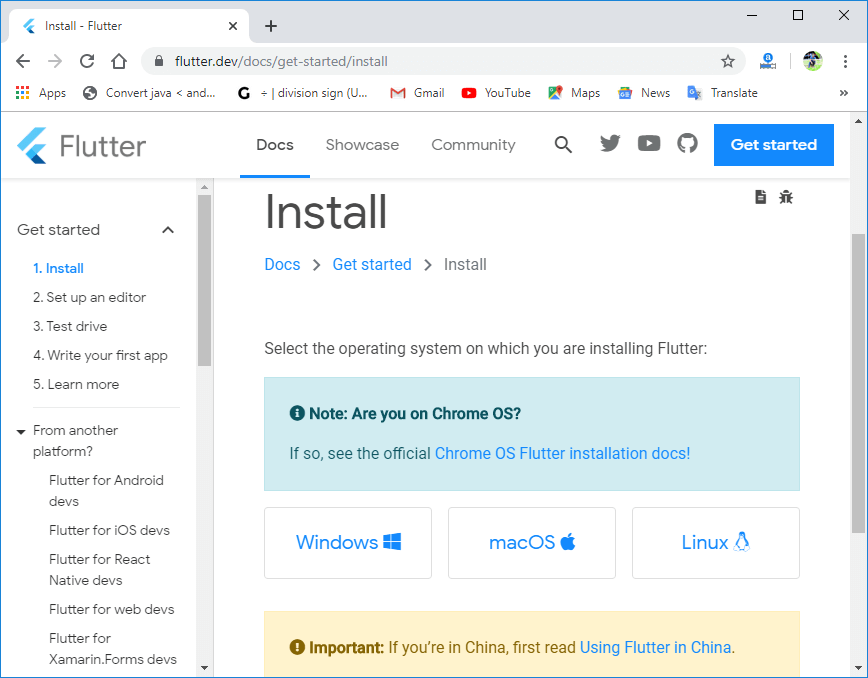
Step 2: Next, to download the latest Flutter SDK, click on the Windows icon. Here, you will find the download link for SDK.
Step 3: When your download is complete, extract the zip file and place it in the desired installation folder or location, for example, D: /Flutter.
Note: The Flutter SDK should not be placed where the administrator’s permission is required.
Step 4: To run the Flutter command in regular windows console, you need to update the system path to include the flutter bin directory. The following steps are required to do this:
Step 4.1: Go to MyComputer properties -> advanced tab -> environment variables. You will get the following screen.
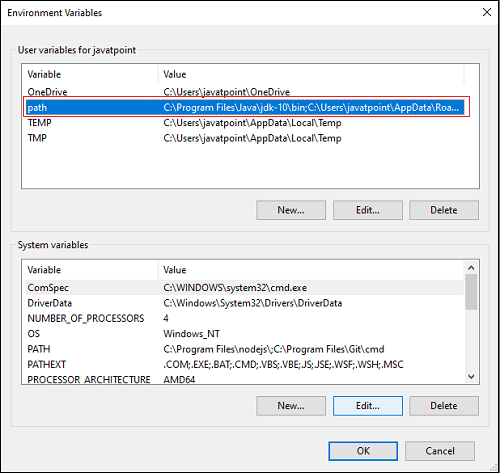
Step 4.2: Now, select path -> click on edit. The following screen appears.
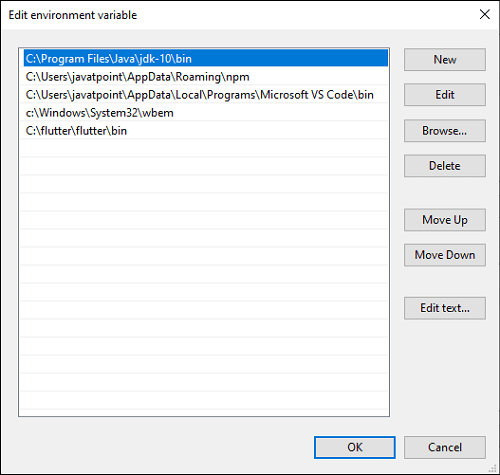
Step 4.3: In the above window, click on New->write path of Flutter bin folder in variable value -> ok -> ok -> ok.
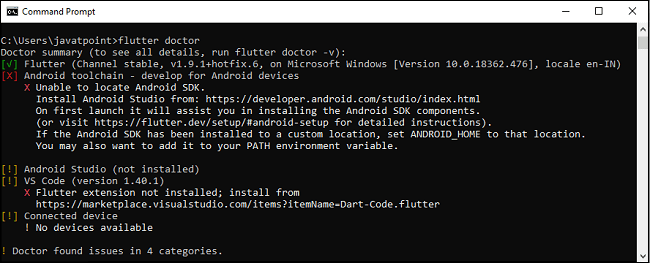
Step 5: Now, run the $ flutter doctor command. This command checks for all the requirements of Flutter app development and displays a report of the status of your Flutter installation.
- $ flutter doctor
Step 6: When you run the above command, it will analyze the system and show its report, as shown in the below image. Here, you will find the details of all missing tools, which required to run Flutter as well as the development tools that are available but not connected with the device.
Step 7: Install the Android SDK. If the flutter doctor command does not find the Android SDK tool in your system, then you need first to install the Android Studio IDE. To install Android Studio IDE, do the following steps.
Step 7.1: Download the latest Android Studio executable or zip file from the official site.
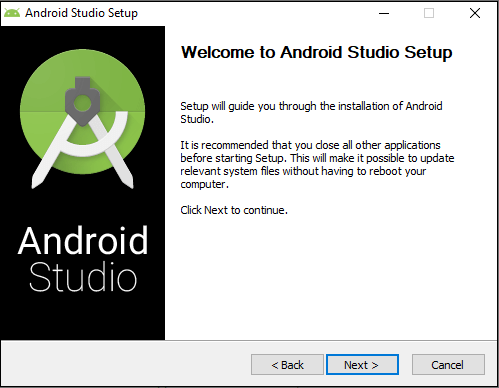
Step 7.2: When the download is complete, open the .exe file and run it. You will get the following dialog box.
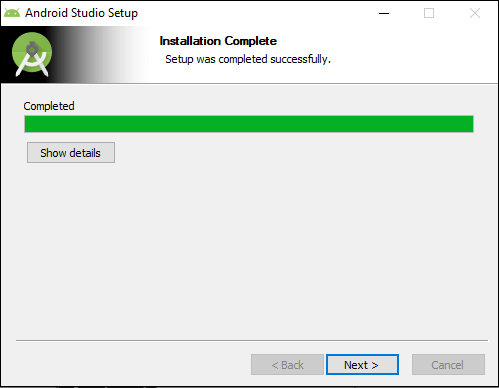
Step 7.3: Follow the steps of the installation wizard. Once the installation wizard completes, you will get the following screen.
Step 7.4: In the above screen, click Next-> Finish. Once the Finish button is clicked, you need to choose the ‘Don’t import Settings option’ and click OK. It will start the Android Studio.
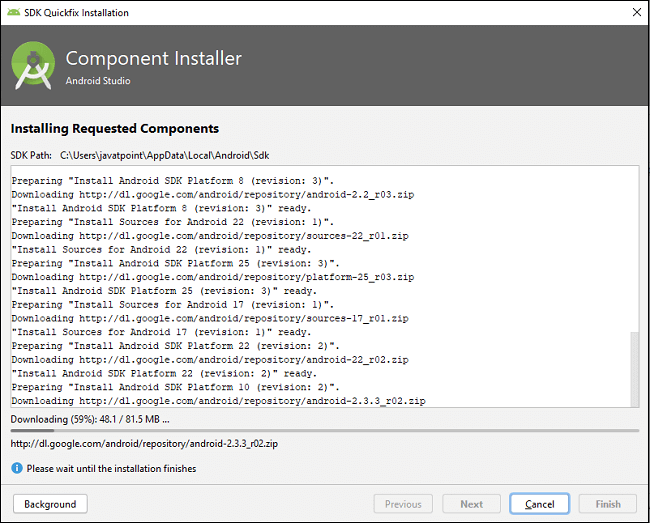
Note:> Meanwhile, the installation wizard also includes downloading Android SDK components that are required by Flutter for development.
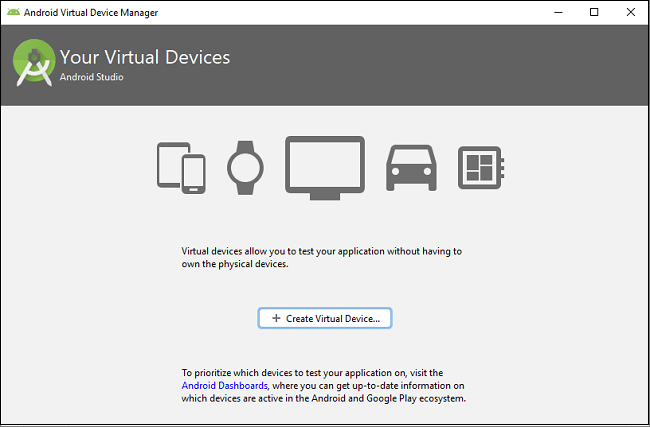
Step 8: Next, you need to set up an Android emulator. It is responsible for running and testing the Flutter application.
Step 8.1: To set an Android emulator, go to Android Studio > Tools > Android > AVD Manager and select Create Virtual Device. Or, go to Help->Find Action->Type Emulator in the search box. You will get the following screen.
Step 8.2: Choose your device definition and click on Next.
Step 8.3: Select the system image for the latest Android version and click on Next.
Step 8.4: Now, verify the all AVD configuration. If it is correct, click on Finish. The following screen appears.
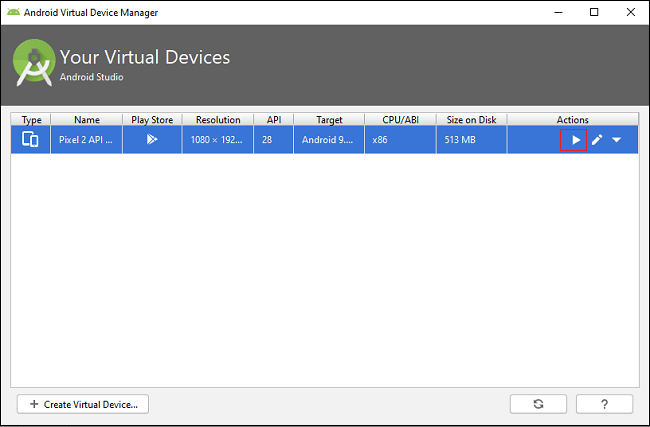
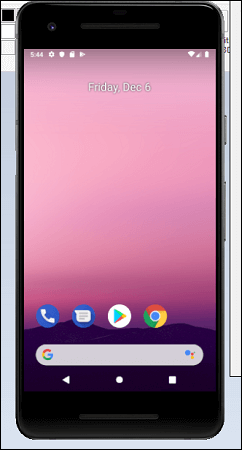
Step 8.5: Last, click on the icon pointed into the red color rectangle. The Android emulator displayed as below screen.
Step 9: Now, install Flutter and Dart plugin for building Flutter application in Android Studio. These plugins provide a template to create a Flutter application, give an option to run and debug Flutter application in the Android Studio itself. Do the following steps to install these plugins.
Step 9.1: Open the Android Studio and then go to File->Settings->Plugins.
Step 9.2: Now, search the Flutter plugin. If found, select Flutter plugin and click install. When you click on install, it will ask you to install Dart plugin as below screen. Click yes to proceed.

Step 9.3: Restart the Android Studio.
Leave a Reply