Launch a Windows Instance
You can launch a Windows instance using the AWS Management Console as described following. An instance is a virtual server in the AWS cloud. With the help of Amazon EC2, you can set up and configure the operating system and applications that run on your instance.
To launch an instance
- Sign in to the AWS Console and open the Amazon EC2 console.
- From the navigation bar, select the region for the instance. Here we are going to choose Singapore data region. Otherwise, this choice is important because some Amazon EC2 resources can be shared between regions, while others can’t be.
- On console dashboard, click Launch Instance.
- To Choose an Amazon Machine Image (AMI) page displays a list of basic configurations called Amazon Machine Images (AMIs) that serve as templates for your instance. Select the 64-bit version of Microsoft Windows Server 2008 R2. Notice that this configuration is marked as Free tier eligible.
- To Choose an Instance Type page, you can select the hardware configuration for your instance. The t1.micro instance will be selected by default. Click Review and Launch to let the wizard complete or not with other configuration settings for you, so you can get started quickly.
- To Review Instance Launch page, you need to go to the settings for your instance.
- Click on Launch.
- In the Select an existing key pair or create a new key pair dialog box, you can select Choose an existing key pair, to select a key pair you already created.
- A confirmation page will open to know that your instance is launching. Click View Instances to close the confirmation page and return to the console.
- On the Instances page, you can view the status of the launch. It takes a short time for an instance to launch. When you launch an instance, its initial state is pending. After the instance starts, its state changes to running and it receives a public DNS name.
- Record the public DNS name for your instance because you’ll need it for the next step.
- (Optional) After your instance is launched, you can view its security group rules. From the Instances page, select the instance. In the Description tab, find Security groups and click view rules.
Connect to Your Windows Instance
To connect to a Windows instance, you must retrieve the initial administrator password and then specify this password when you connect to your instance using Remote Desktop.
Note:- Windows instances are limited to two simultaneous remote connections at one time. If you attempt a third connection, an error will occur. For more information, see Configure the Number of Simultaneous Remote Connections Allowed for a Connection.
To connect to your Windows instance
- In the Amazon EC2 console, select the instance, and then click Connect.
- In the Connect To Your Instance dialog box, click Get Password (it will take a few minutes after the instance is launched before the password is available).
- Click Browse and navigate to the private key file you created when you launched the instance. Select the file and click Open to copy the entire contents of the file into contents box.
- Click Decrypt Password. The console displays the default administrator password for the instance in the Connect To Your Instance dialog box, replacing the link to Get Password shown previously with the actual password.
- Click Download Remote Desktop File. Your browser prompts you to either open or save the .rdp file. Either option is fine. When you have finished, you can click Close to dismiss the Connect To Your Instance dialog box.
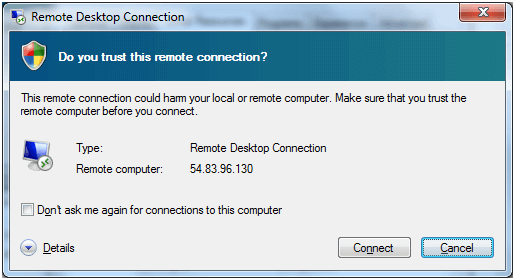
- If you opened the .rdp file, you will see the Remote Desktop Connection dialog box. If you saved the .rdp file then navigate to your downloads directory, and double-click the .rdp file to display the dialog box. You will get a warning that the publisher of the remote connection is unknown. Click Connect to connect to your instance. You may get a warning that the security certificate could not be authenticated. Click Yes to continue.
- Log in to the instance as prompted, using the default Administrator account and the default administrator password that you recorded or copied previously.
After you connect, we recommend that you do the following:
- Change the Administrator password from the default value. You change the password while logged on to the instance itself, just as you would on any other Windows Server.
- Create another user account with administrator privileges on the instance. Another account with administrator privileges is a safeguard if you forget the Administrator password or have a problem with the Administrator account.
Now how can you share your local drives with the Singapore or others data center?
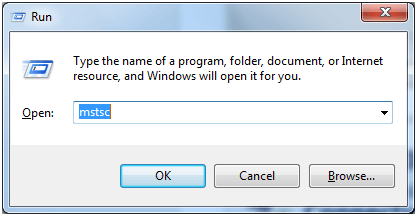
Now start the RDP (Remote Desktop Service) from the Windows machine as shown below. Run themstsc command from the Run menu.
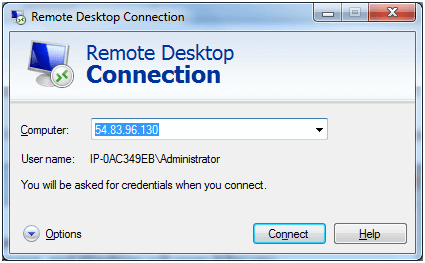
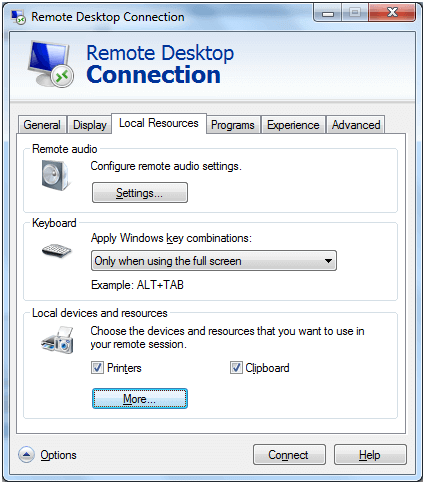
The Remote Desktop Connection window is displayed.
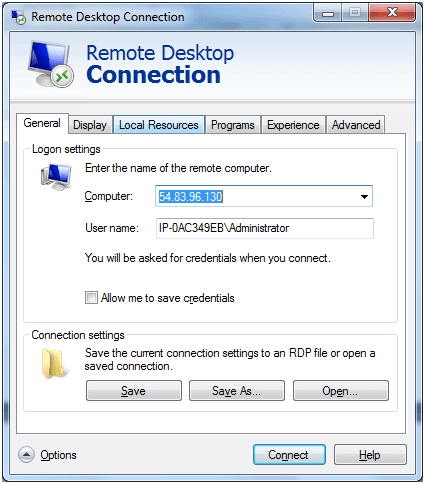
Click the Options button and then select the Local Resources tab.
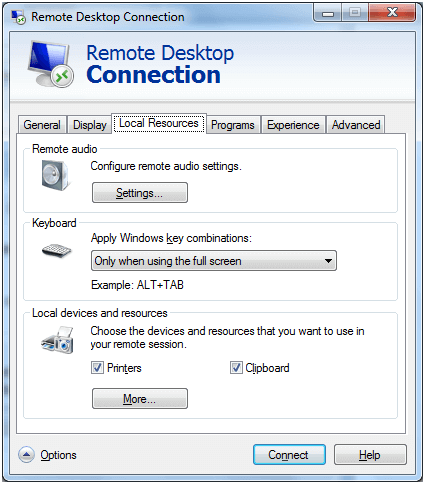
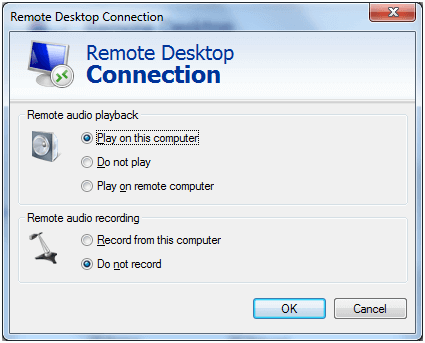
In the Remote audio area, select Settings to configure the audio settings of your instance.
In the Local Resource tab, in the Local devices and resources area, click More. All the plug and play devices that can be available through network in the AWS EC2 server instance are listed, as well as the disk drives.

Click Connect.
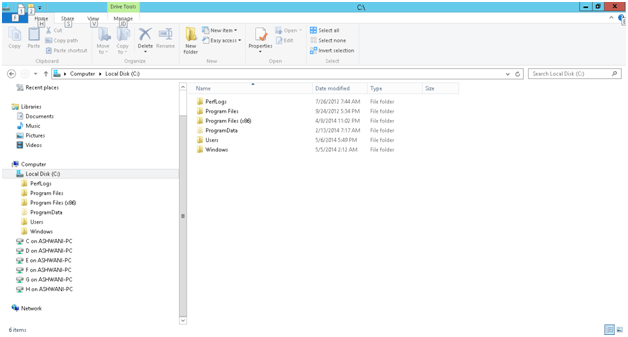
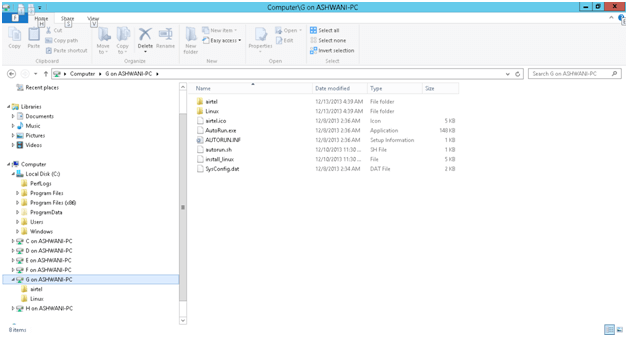
Now we can install anything in the Singapore datacenter from our local drives.
Leave a Reply